Featured Products
Although a school's science laboratory is the traditional arena for exploration and experimentation, other venues, such as interactive science centers, do exist. For some time now we have been taking advantage of yet another setting: the home. Using simple materials, our students are encouraged to do science experiments with family and friends. The benefits of at-home science activities are many. They increase the time students are thinking about and doing science. Since many of the explorations focus on counterintuitive phenomena, students delight in sharing unexpected outcomes with others. Needless to say, parents love seeing what their children are doing in school.
Quite often the materials needed to investigate physical phenomena at home may be found in the kitchen or workshop. When more specialized equipment is needed, we create a "Lab in a Bag" by packing required materials in a plastic food-storage bag. Using the "lab in the bag" approach, students take home simple materials relating to a given concept in Zip-Loc® bags. Everything needed to investigate phenomena ranging from electromagnetic radiation to Newton's Laws is contained in a single plastic bag.
The "Lab in a Bag" experiments are intended to be engaging, thought provoking, and enjoyable. While fun is not the principle goal of science education, these activities allow students, and their families, to experience science in a less-structured, more playful manner. All activities are designed to be straightforward and materials are chosen with safety in mind. The low-cost nature of the simple equipment used in these kits eliminates worry about loss.
Prior to presenting the students with their first activity, we send a letter home to parents explaining the purpose and nature of the activities. The letter also informs parents that their child will receive credit upon the return of a signed sheet indicating the parents' or guardians' involvement in the activity.
The take home labs may be divided into two categories. The "Lite Science" labs involve short investigations that may be carried out with additional materials found in the home. "Lab in a Bag" experiments require the use of materials packaged by teachers. The following are examples of both types of explorations. We hope you enjoy sharing these activities with your students and their families.
"Lite Science" Experiments
The Color Mixing Turbine – Overlapping Color in Time
Due to a phenomenon known as persistence of vision, our retina retains an image for a short time after the source of light has come and gone. Using persistence of vision, it is possible to combine colors by presenting them to the eye in rapid succession. If for example, a flash of red light impinges on the retina, the sensitive cones that are activated by the light continue sending signals to the brain for a fraction of a second. If a source of green light strikes the retina within this time, the brain will perceive yellow, the additive combination of red and green.
The color mixing turbine provides a simple yet elegant way of demonstrating the use of persistence of vision to achieve additive color mixing.
The following steps will guide you through the construction and use of the turbine.
Bend two corners of one of the black cardboard squares as shown in the figure above.
Attach a green sticker to one side of the card and a red sticker to the other. Make certain that the two stickers have overlapping areas.
Gently hold the card by corners B and D using two fingers. By blowing on the concave blade, the cardboard can be made to spin. The alternating colors act as flashing red and green lights, the combination of which produces the sensation of yellow.
Experiment with the other stickers provided. Record your results below.
Red sticker/Green sticker yields ____________________
Red sticker/Blue sticker yields ______________________
Blue sticker/Yellow sticker yields____________________
This activity was inspired by an article in The Physics Teacher magazine by Adolf Cortel titled Simple Experiments on Perception of Color Using Cardboard Turbines, Physics Teacher 42, 377 (2004).
Friction Balance
Balance a meter stick or other long rod on your forefingers so that a finger is on each side of the center of the rod. The exact position of each finger is not important. In fact, you don't want them to be the same distance from the center of the rod. Now slide your fingers toward each other. Watch your fingers carefully as they move inward. Where do your fingers meet? Try it again, this time with your fingers in different starting positions. Where do your fingers meet now? Can you explain your observations?
You may wish to try this experiment with a variety of objects, e.g., a broom, baseball bat, etc.
Mind Over Matter Pendulums
Resonance occurs when the frequency of the driving force acting on an object equals the object's natural frequency of vibration. The shattering of glass with sound shown in an old Memorex® tape commercial and the Tacoma Narrows Bridge collapse are perhaps the most frequently cited examples of resonance. In each case, the object's amplitude of vibration increased dramatically through the efficient transfer of energy.
The power of resonance can be summoned in a less destructive, but equally impressive demonstration. The "mind over matter pendulums" will leave observers in awe as you set each of three pendulums swinging at will, apparently through the use of your psychokinetic powers.
The pendulums are constructed from paper clips suspended from three strings of different lengths. The lengths of the strings are not important. One end of each string is tied to a paper clip, the other end to a drinking straw. The demonstrator holds one end of the straw and asks unsuspecting observers to identify the pendulum they want you to set into motion using only brain waves. Once the pendulum is selected and you have requested complete silence from the audience, begin chanting "come on, come on." To prevent accusations of breathing on the pendulum, hold your free hand in front of your mouth.To set the designated pendulum swinging, you must imperceptivity move the end of the straw at the pendulum's resonant frequency. This is easier to do than it sounds. A few motions of the straw will reveal if the chosen pendulum is responding. If not, adjustment is instinctive. When resonance is obtained, energy will be transferred to one pendulum efficiently, but not the other two. If your hand motions remain undetected by the audience, you will have everyone baffled until you finally decide to share the science behind the scam.
Great Balancing Act: To be taken with a grain of salt
An object in equilibrium may either be stationary (static equilibrium) or moving with a constant velocity (dynamic equilibrium). The equilibrium condition requires that there be no unbalanced forces or unbalanced torques acting on an object.
One of the most striking demonstrations of static equilibrium may be performed with only a beaker or drinking glass and a little salt. First, make a little mound of salt, roughly 2 cm wide and 1 cm tall, on a table top. Next grind the edge of the bottom of a beaker into the salt until the beaker remains stationary and poised at angle. The beaker is now in static equilibrium. Slowly and gently blow on the salt until only a few grains remain between the beaker and the table top. When this occurs, describe the forces and torques acting on the beaker. Dissolve the remaining grains of salt by pouring water on the table near the beaker's point of contact with the table. What happens at the instant the water reaches the grains of salt? Why does this occur?
Repeat the experiment by increasing the size of the object. You might want to try larger vessels. 1000 ml beakers are always a challenge. The largest known object used in this demonstration is a trash can.
Silver Egg Demo
Use tongs to hold a normal egg in a candle flame until it is covered with soot. Drop the soot-covered egg into a glass of water. A considerable amount of the light traveling through the water is totally internally reflected when it encounters an air layer that adheres to the soot. Since most of the light is reflected, the egg appears to have a silvery, shiny surface. The egg will appear silvery until the air dissolves into the water, which only takes a couple of minutes. Look closely to observe what happens to the small fraction of light that passes through the air layer.
Permanent Thin Film Colors
Light incident on a thin film, such as a thin layer of gasoline on water, will be reflected from the top and bottom surfaces of the film. When the reflected light waves exit the film, they interfere.
This interference gives rise to the iridescent colors often associated with soap bubbles and oil slicks. These colors are as short-lived as the films that produce them. However, there is a way to capture the beauty of a thin film for posterity. Using a drop of inexpensive clear finger nail polish and a sheet of black construction paper, a thin film and its attendant colors may be made permanent.
Obtain a pan or glass dish large enough to accept a 4" X 4" sheet of black construction paper. After filling the container with water, put the construction paper in the water making certain that it is completely submerged. Use the nail polish applicator brush to apply one drop of nail polish to the center of the water. The nail polish should quickly spread out over the surface of the water. After the nail polish has stopped spreading, slowly lift the construction paper out of the water. The nail polish should adhere to the surface of the paper. Allow the paper to dry. What do you observe on the surface of the dried paper? Remembering that the nail polish was colorless, can you explain the origin of these colors? Did you note that the colors change as you tilted the paper? Why does this happen?
"Lab in a Bag" Experiments
Construct a Kaleidoscope
This activity is a hands-down favorite of our students! This "Lab in a Bag" includes three 1"X 6" mirrors and an instruction sheet. The sheet describes kaleidoscope construction and offers suggestions for creating a variety of objects to be viewed through the scope. The sheet also provides a brief explanation of image formation by the kaleidoscope and a history of the device. The resulting kaleidoscopes are absolutely stunning! Students often give their finished kaleidoscopes to family members and friends as gifts.
The mirrors used are cut from standard mirror tile available at any hardware or home supply store. You may cut the mirrors at home using a glass cutting tool; however, many hardware stores will cut the glass for free when they learn of your mission.
The simplest kaleidoscope is constructed by simply taping the three mirrors together with masking or electrical tape. The mirrors are placed face down and the tape is applied over small gaps left between the mirrors. These spaces allow the mirror assembly to be folded into a triangular shape. Without the gaps, the mirrors will bind.
When no object is permanently attached to the far end of the three-mirror system, the device is called a teleidoscope. View your world through the teleidoscope and be amazed! Everything seen through the teleidoscope is transformed into a beautiful, multi-faceted pattern. Attaching an object such as a decorated ping pong ball or test tube containing water and colored beads to the end of mirror system formally turns your teleidoscope into a kaleidoscope.
“Seeing” Beyond the Visible
While the eyes of some animals are sensitive to infrared (IR) or ultraviolet (UV) radiation , the human eye is, for the most part, not. Generally speaking, humans are privy to the very limited range of wavelengths lying between 400 and 700 nanometers. However, humans have learned to detect and even “see” beyond the visible spectrum with the use of a variety of devices.
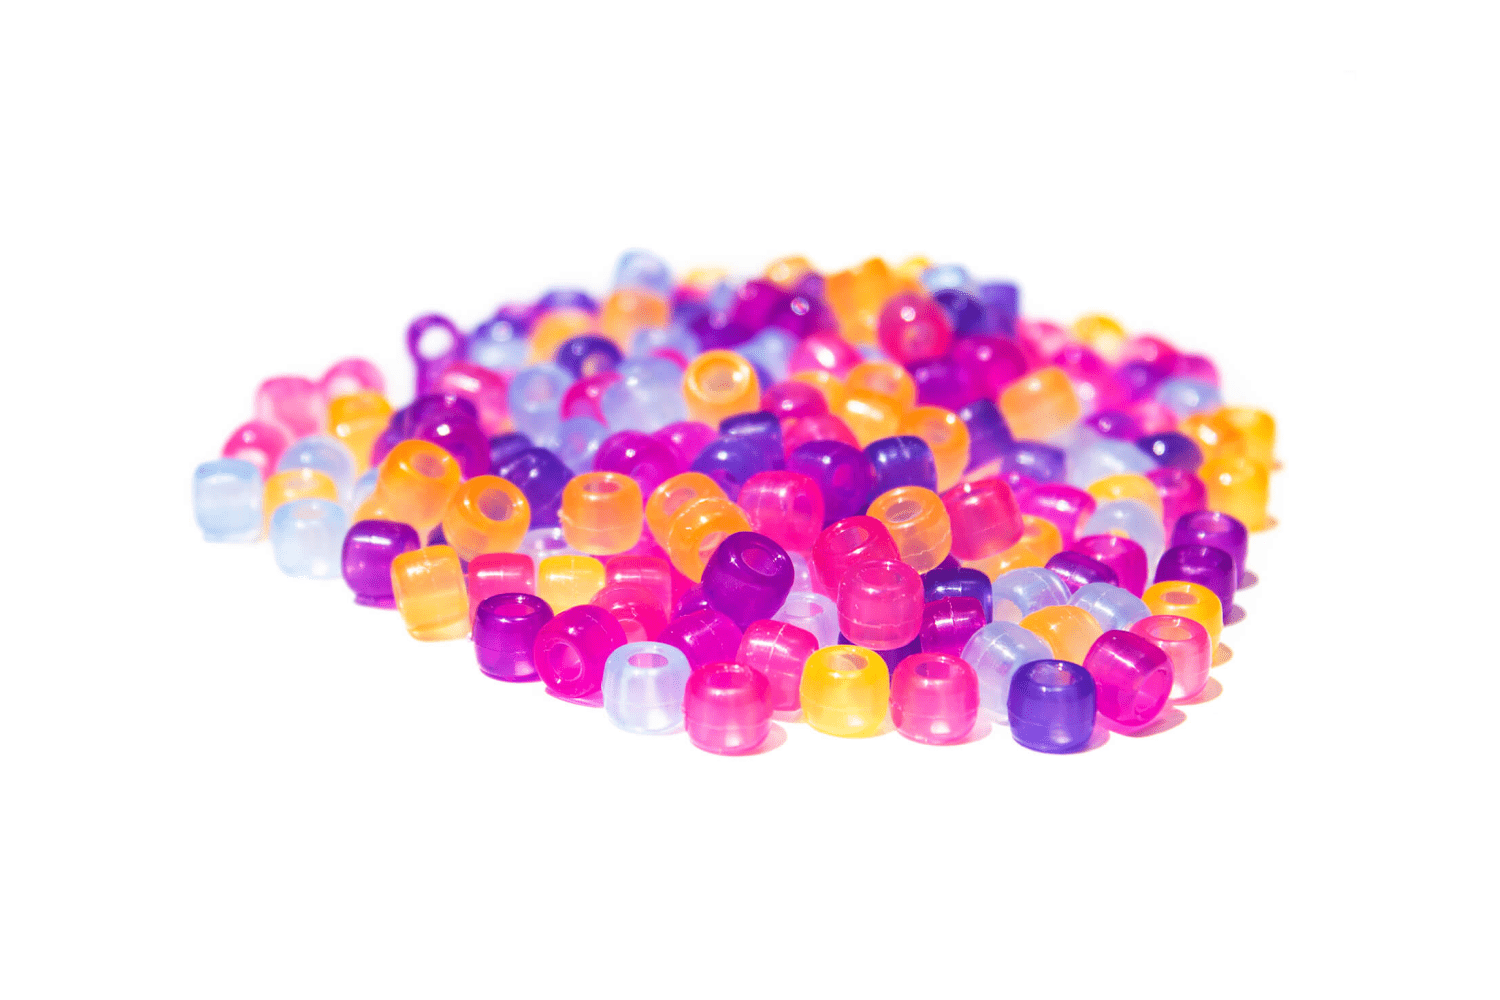
Inexpensive UV-sensitive plastic beads provide one method of detecting sources of ultraviolet light. The reusable, chemically treated beads undergo a dramatic change in color when exposed to both UV-A and UV-B radiation. Students may be given several beads to take home to demonstrate the effect to their family and friends. By exposing the beads to radiation from as many sources as they can think of, students can lead an investigation that will inform and sometimes amaze parents. Potential sources include the sun, incandescent and fluorescent lamps, LEDs, television and computer screens, black lights, etc. After identifying strong UV sources (the sun and black light are usually determined to be by far the strongest), they can shield their beads from these sources with a variety of materials in an attempt to find the best absorber. Glass, plastic, water, suntan lotion are often used.
Television and DVD player remote control units emit IR. By directing the output from one of these remote control units at the lens of a digital camera it is possible to “see” IR. The normally invisible radiation will appear as a flashing dot when viewed on the active view screen found in both digital still and video cameras. The CCD (charge coupled device) in these cameras responds to IR, where the human eye does not.
Exploring Color
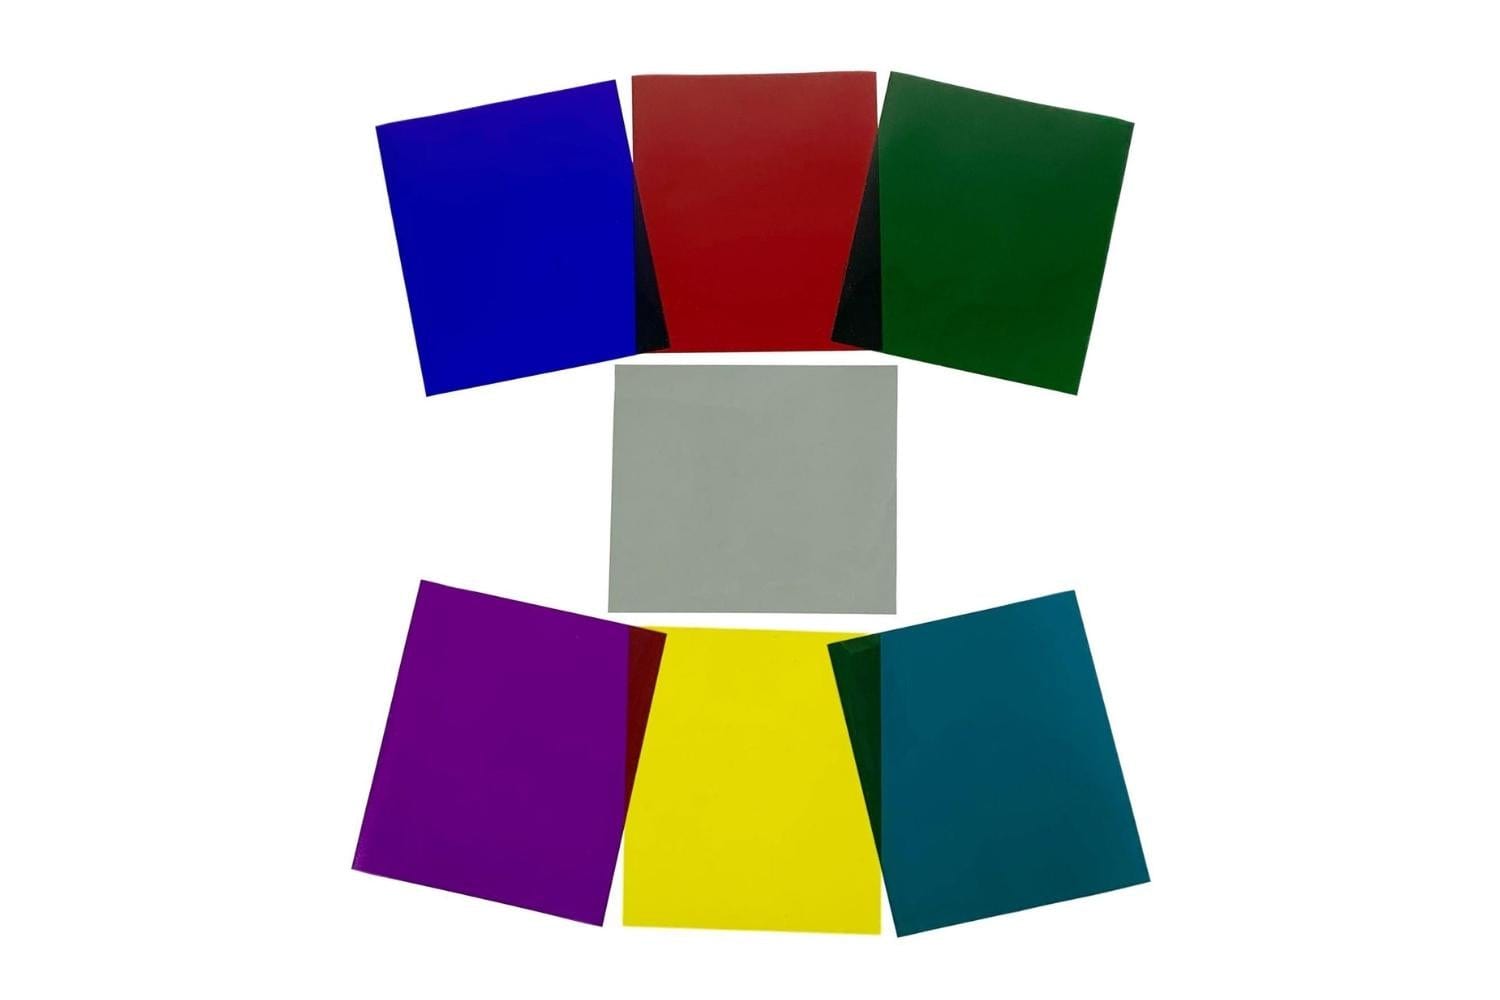
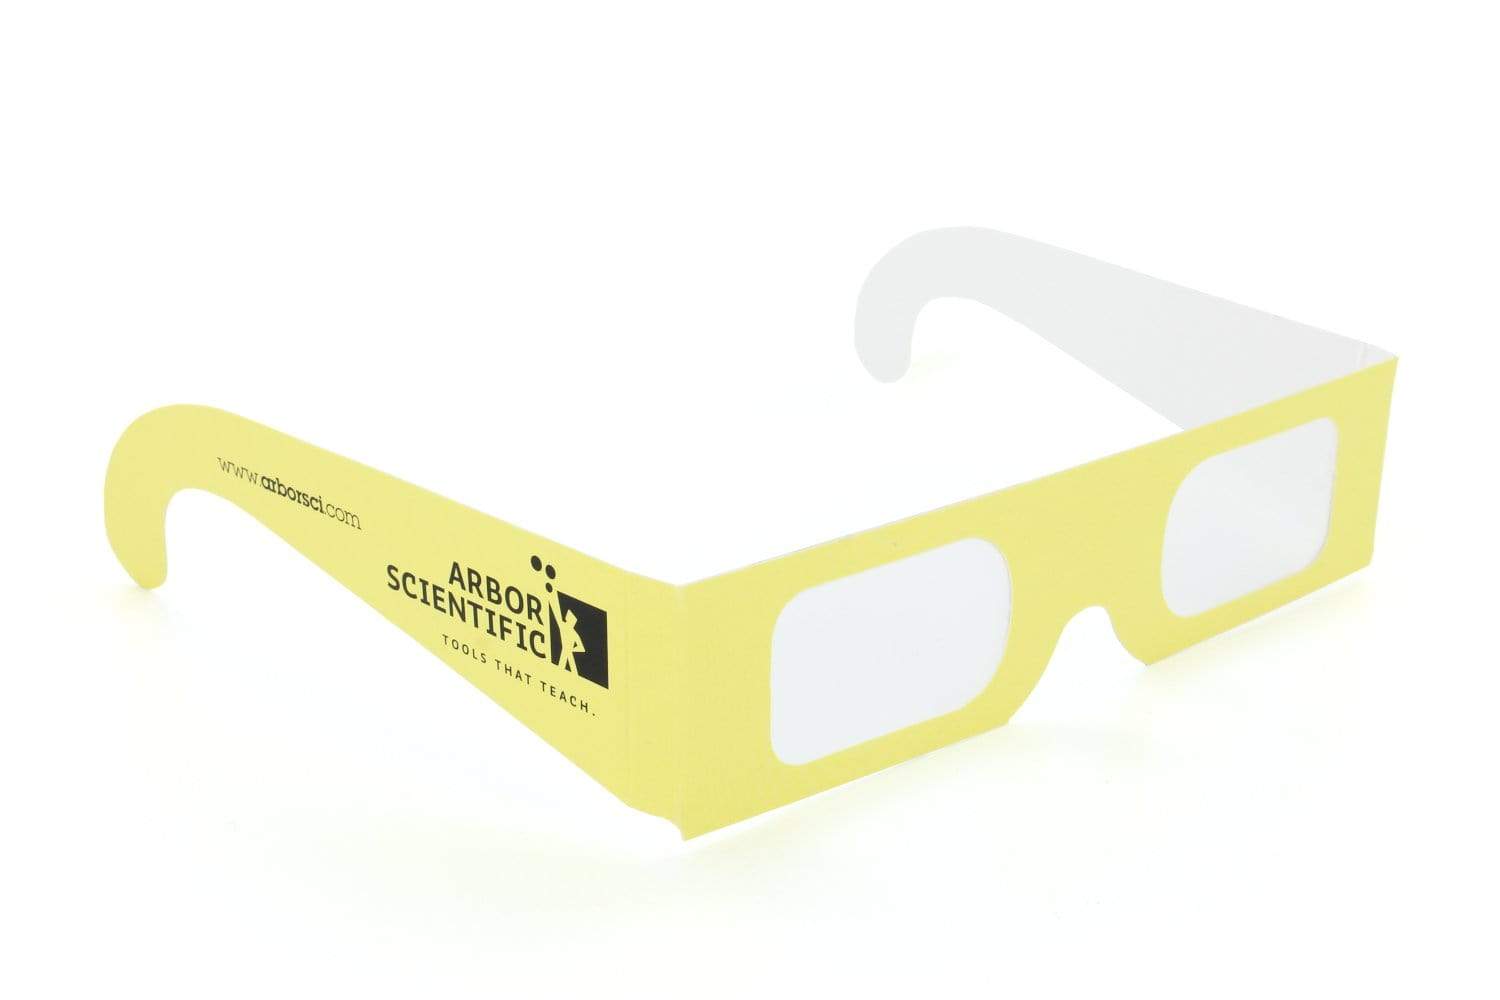
This "lab in a bag" allows students to explore principles of additive and subtractive color mixing. Along the way, they are made aware of examples of color mixing going on all around them. Each student is given six color filters (red, green, blue, cyan, yellow and magenta) and a pair of inexpensive diffraction glasses. The color filters need not be large. 2" X 2" squares will suffice. A small piece of diffraction grating taped over a hole punched in a file card may be used in lieu of diffraction glasses (see figure).
Students examine the makeup of white light by looking at an incandescent bulb through a diffraction grating. They record what they observe with crayons or colored pencils. They then place each color filter over the diffraction grating and see that each filter removes a different portion of the spectrum. If students use diffraction glasses, they should close the eye not covered by a filter. After making each observation, students should record their observations with colored markers.
To observe the effect of overlapping filters (subtractive color mixing), students view white light directly through various combinations of filters. (Note: a diffraction grating is not used in this portion of the experiment). The hope is that students will “discover” the rules of subtractive color mixing.
Placing a drop of water on a television screen or computer monitor reveals the wonders of additive color mixing. The drop, acting as a magnifying glass, reveals dots or rectangles of red, green and blue. Students realize that the myriad of colors seen on the screen result from the additive mixing of these three primary colors.


